Categories
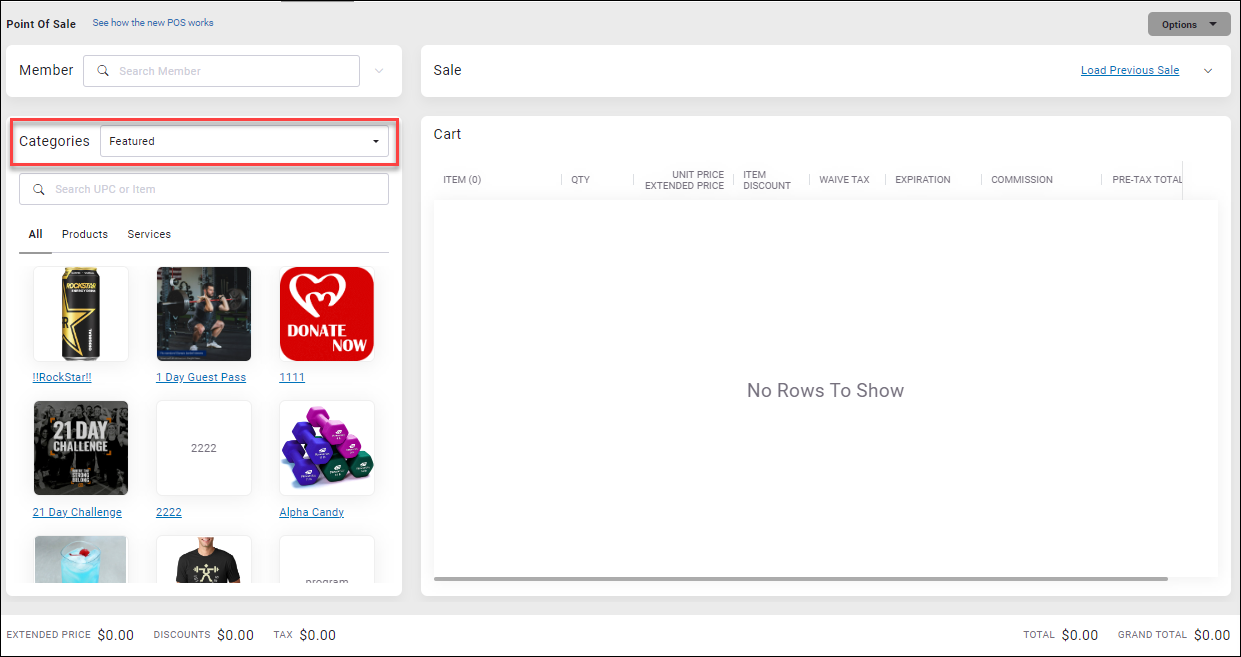
The Categories drop-down menu on the POS page allows you to filter inventory items by Category. By default, the Featured category appears when POS opens.

The Manage Categories page (Settings>Inventory Setup>Categories) lists categories with their description and whether the category is displayed in POS. On this page you can create a new category or edit existing ones.
You can also quickly configure categories to show in POS or to be hidden in POS.
To configure multiple categories to show in POS or be hidden in POS:
- Navigate to Settings>Inventory Setup>Categories.
- On the Manage Categories page, click Sort in the top right corner of the page.
The Sort Categories dialog box will appear. - Using the multi-select list, move the categories you want to display in POS to the Show in POS list on the right.
Move the categories you want to hide from POS to the Do not show in POS list on the left. - Click OK.
Create a New Category
To create a category:
- Settings>Inventory Setup>Categories.
- At the top right corner of the Manage Categories page, click Create.
- Enter a name for the category in the Name field.
- If necessary, enter a description for the category in the Description field.
- If you want to hide this category from POS, set Display in POS to No. Items within this category can still be located by running a search for the item in POS, but the category will not be available.
- Enter the text you want to appear on the POS button for the category in the POS Button Label field. This is equivalent to the Button Text for an item.
- Click Add to add the catalog items you want to appear within this category.
- After you have selected the items you want to add to the category, click OK.
- Click Save.
The category has been created.