Brands
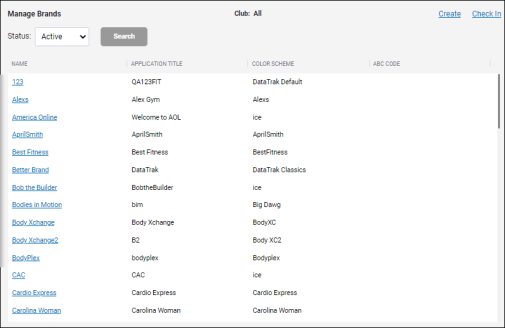
The Manage Brands page (Settings>Settings>Brands) lists the available brands to choose from.
Each brand includes a color scheme, footer, and logo, and can be applied to change the appearance of the Membership and Operations interface.
Click a brand to view and/or change it.
By default only active brands are displayed, but you can display inactive brands by changing the Status to Inactive and clicking Search.
Click the Name, Application Title, Color Scheme, or ABC Code column header to sort the list by that column.
Create a Brand
To create a brand:
- Click Create on the Manage Brands page.
- Provide a Name (required).
- Provide an Application Title (required). The text of the application title will appear in the Membership and Operations tab of your browser.
- Select a color scheme. The color scheme dictates the colors of various components of the interface.
- Change the footer image, if needed. This will not appear on restyled or pages. It will only appear on some older pages that have not yet been redesigned.
- Change the logo image, if needed. This will appear at the top left of the Membership and Operations window.
- Click Add in the Links section to add any relevant links, if needed. These will appear in the External section of the main menu after the brand is applied.
- Delete any links, if needed.
- Click Save. The new brand will appear in the list as an active brand.
Edit a Brand
To edit an existing brand:
- Select a brand from the list.
- Change the name, application title, color scheme, footer, logo, and/or links as needed.
- Click Save. Your changes will be applied to the brand.
If an ABC Code is assigned to the brand, this is an ABC default brand that cannot be changed apart from the links displayed in the External section of the main menu.