To create a product or service, you must first have a catalog and a profit center in which to place them.
If you do not have a catalog created, see Creating a New Catalog.
If you do not have a profit center created, see Creating a New Profit Center.
To create a product:
- Open the Setup Menu.
- From the Inventory submenu, select Catalog Items.
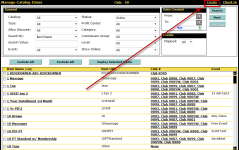
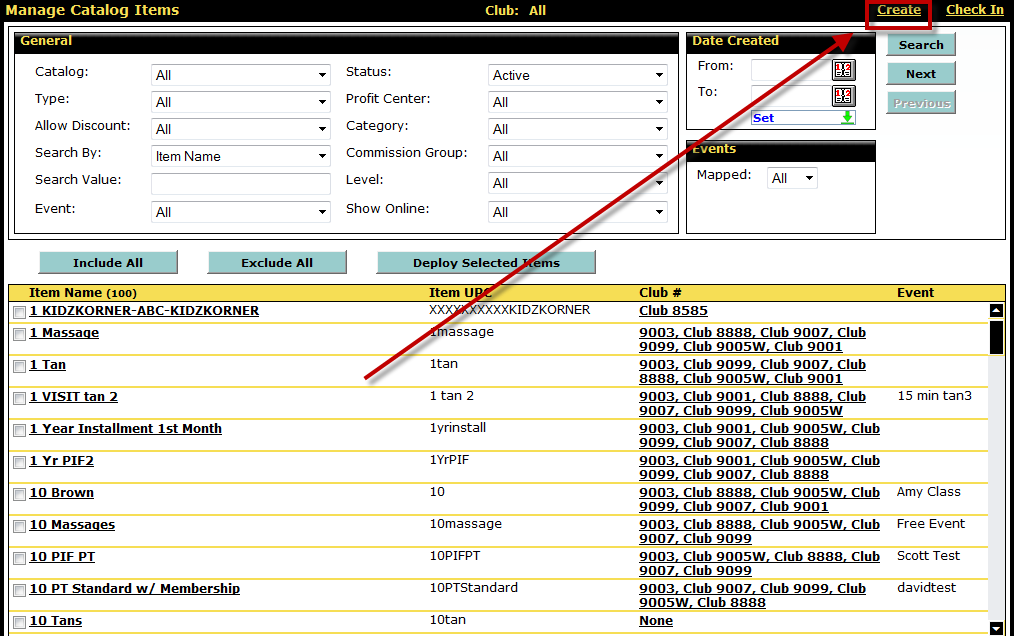
- Select Create from the top right of the Manage Catalog Items page.
- Set the item Type to Product.
- Select the Catalog to which the product will be assigned.
- Enter the Name of the product.
- Enter the UPC (Universal Product Code) for the item. The UPC can be used to search for the item in POS, and can contain numbers and/or letters.
- Select the Profit Center for the item.
- Select the Category (if any) to which the item will belong.
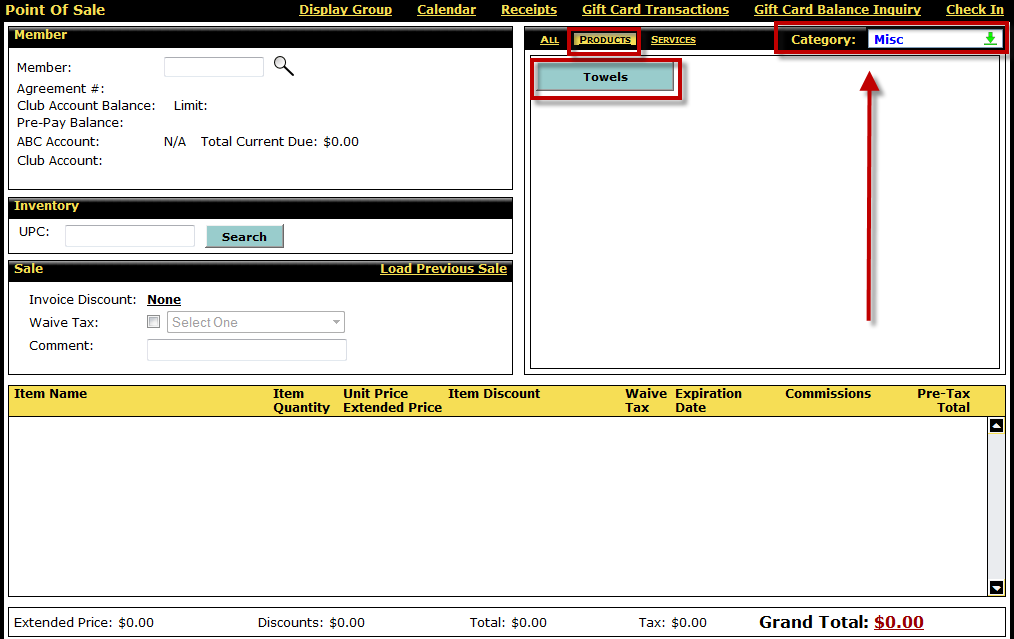
Both products and services are organized in categories within the POS menu. A single category may contain only products, only services, or both.
- Enter the Button Text.
This is the text that will appear on the button for this item in POS exactly as it is entered. - In the Company/Club Settings section, enter the Unit Price for the item. This will be the default price at which the item is sold if it is sold individually (items sold as packages will have a default quantity of the unit price multiplied by the default quantity).
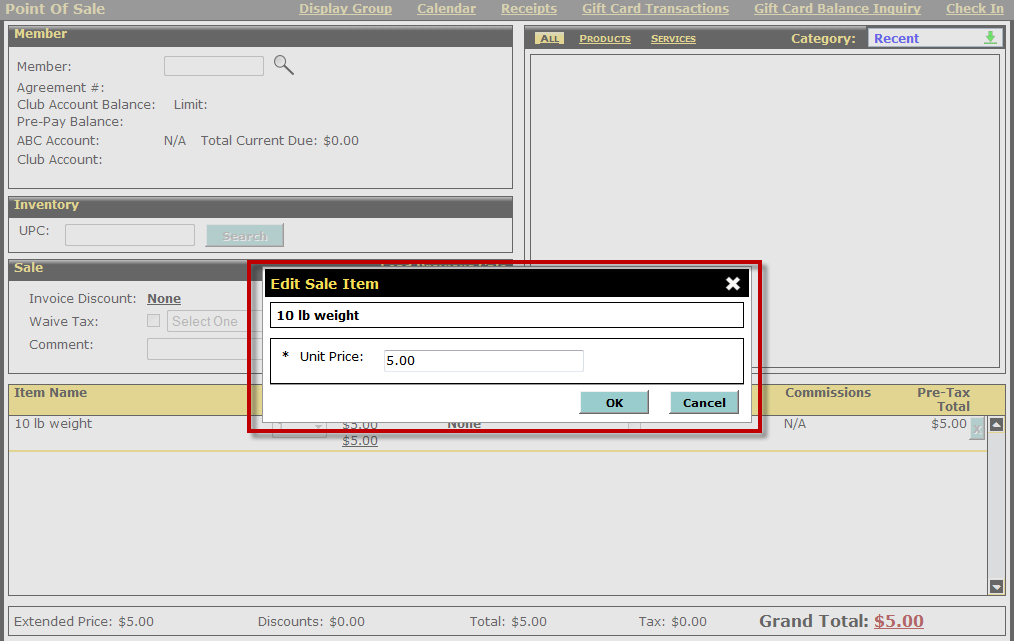
- If you want the POS menu to open the Edit Sale Item dialog box to allow the entry of a new price when this item is selected in POS, set Prompt for Price to Yes. Otherwise, set Prompt for Price to No.
 Show me an example
- If you want to place the item on hold, set Item on Hold to Yes. An item placed on hold will not appear in the POS selection menu, but it can be located by entering the item's UPC.
- If you want to allow this item's price to be discounted from the POS menu, set Allow Discount to Yes.
- If there will be a default discount for this item, set the Default Discount to the discount you want to apply (this option will only be selectable if Allow Discount is set to Yes).
- If you want to grant the ability to override the item discount at POS, set Override Discount to Yes.
- Set an amount for Minimum Quantity, Maximum Quantity, and Default Quantity.
Show me more about these
- Minimum Quantity: The lowest quantity of an item that can be purchased during a single transaction.
- Maximum Quantity: The highest quantity of an item that can be purchased during a single transaction.
- Default Quantity: This is the quantity that will appear by default when the item is selected in POS. If you want the item to be sold as a package of 10, the default quantity should be set to 10. Items that should be sold individually should have a default quantity of 1.
Example: When added to a transaction in POS, an item that has a Minimum Quantity of 1, a Maximum Quantity of 20, and a Default Quantity of 5 will default to a quantity of 5, but will allow the Item Quantity to be changed to any number between 1 and 20.
The Default Price will appear. This is the Unit Price multiplied by the Default Quantity.
- If the product is stockable, set Stockable to Yes. Stockable items can have their inventory levels altered with Rapid Restock, Rapid Override, and Inventory Update. Non-stockable items will not appear on those pages.
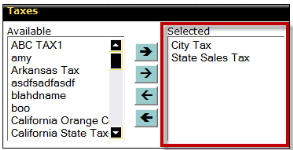
- Select the clubs at which you want this item to be available by moving them to the Selected menu.
Only the clubs listed in the Selected menu will have that item available on the Manage Club Items page.
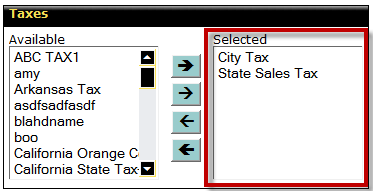
- Select all taxes that will be applied to this item by moving them to the Selected menu.
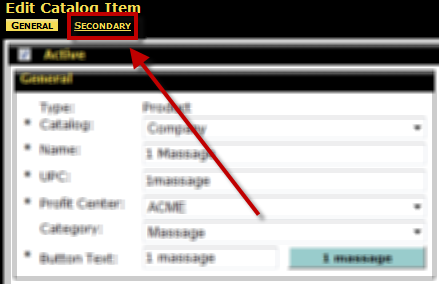
- Select the Secondary tab at the top of the page.

- If you want to set up sales commissions for this item, see Sales Commissions > Catalog Items.
- Set the Member Required option.
Show me more about the Member Required option
- Yes: This item can only be sold if a member is selected for the transaction in POS.
- No: This item will not require a member to be selected during the transaction in POS.
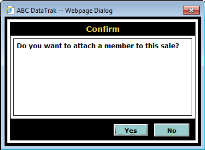
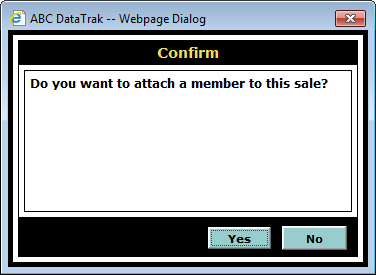
- Prompt: Selling this item in POS will bring up the member prompt dialog box when you attempt to complete the transaction, if a member has not already been attached to the transaction.
- If you want a note attached to the item, enter the note text in the Note field.
- Select a Catalog Item Group for this item or select None.
- If relevant for this item, enter a value for Case Quantity, Size, and Color.
- Select the Vendor for this item or select None.
- Select an Alternate Vendor for this item or select None.
- Click Save.
The product has been created.
For information on the Fixed option for settings on the Edit Catalog Items page, see Fixed Catalog Item Settings.

![]() © 2026 ABC Fitness Solutions, LLC.
© 2026 ABC Fitness Solutions, LLC.