Branding
Branding allows you to apply your company logo and color scheme to the interface.
After you edit and save a color scheme and/or the applied branding, you may have to log out and log back in to see your changes.
To create new branding or edit existing branding:
- Navigate to Settings>Settings>Color Schemes.

- Select an existing color scheme or click Create.
- In the DataTrak section, select the colors you want to display for pages that have not yet been restyled or reskinned.
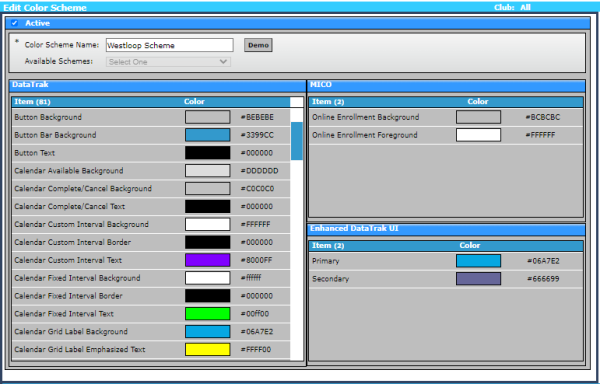
The following colors will be applied to the calendar:- Calendar Available Background
- Calendar Complete/Cancel Background
- Calendar Complete/Cancel Text
- Calendar Custom Interval Background
- Calendar Custom Interval Border
- Calendar Custom Interval Text
- Calendar Fixed Interval Background
- Calendar Fixed Interval Border
- Calendar Fixed Interval Text
- Calendar Grid Lines
- Calendar Mixed Background
- Calendar Mixed Border
- Calendar Mixed Text
- Calendar Open Monthly Background
- Calendar Open Monthly Border
- Calendar Open Monthly Text
- Calendar Open Package Background
- Calendar Open Package Border
- Calendar Open Package Text
- Calendar Past Background
- Calendar Unavailable Background
- Calendar Unfunded Background
- Calendar Unfunded Text
The following Calendar color settings are hard-coded and cannot be changed:
- Calendar Grid Label Background
(#F5F4F5 - corresponds to the background of the pages within the app) - Calendar Grid Label Emphasized Text
(#0073BA, bold - corresponds to the color of the links) - Calendar Grid Label Text
(#0073BA - corresponds to the color of the links)
- If needed, select the colors for Online Enrollment Foreground and Online Enrollment Background for MYiCLUBonline.
- Select a Primary color from the Enhanced DataTrak GUI section. This color will be applied to all restyled and reskinned pages.
- Click Save.
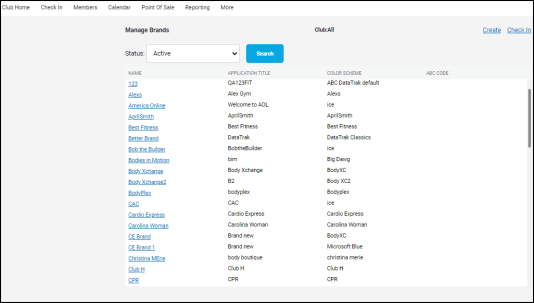
- Choose or create a brand that will use the color scheme you created by navigating to Settings>Settings>Brands and selecting a brand or clicking Create.
- Select your Color Scheme.
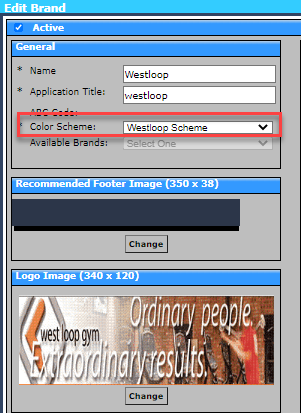
- If this is a new brand, enter a Name and Application Title.
- Click Save.
- Under Logo Image, click Change.
- Upload your logo image with the dimensions 340 x 120 pixels.
- Click Save.
The footer logo will not appear on restyled or pages. It will only appear on some older pages that have not yet been redesigned.
To apply branding to your company:
- Navigate to Settings>Settings>Company.
- In the General section of the General tab, select your Brand.
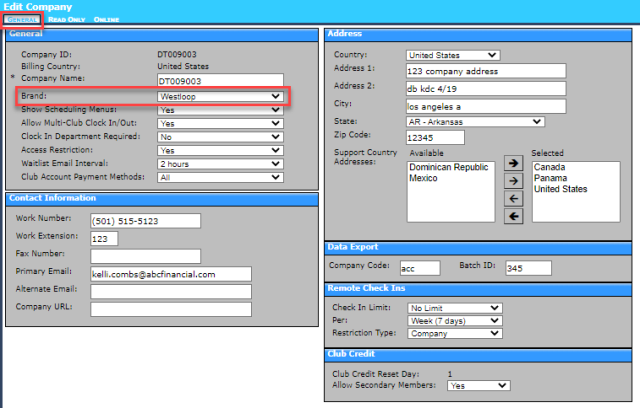
- Click Save.
To apply branding to your club (this will override the color settings applied to the company):
- Navigate to Settings>Settings>Club and select your club.
- In the General section of the Defaults page, select your Brand.
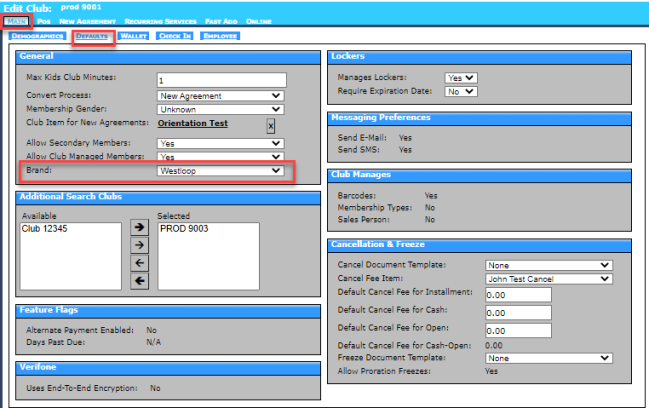
- Click Save.
After you edit and save a color scheme and/or the applied branding, you may have to log out and log back in to see your changes.